Table of contents
- Swift Tip: Adding Rounded Corners and Shadows to a UIView
- The Backstory
- CALayerWhyAreYouDoingThisToMe
- The Solution
- Update!
Swift Tip: Adding Rounded Corners and Shadows to a UIView을 의역했습니다
Swift Tip: Adding Rounded Corners and Shadows to a UIView
Shadows, Rounded기능 추가가 쉬워보이지만 어려운 이유..
The Backstory
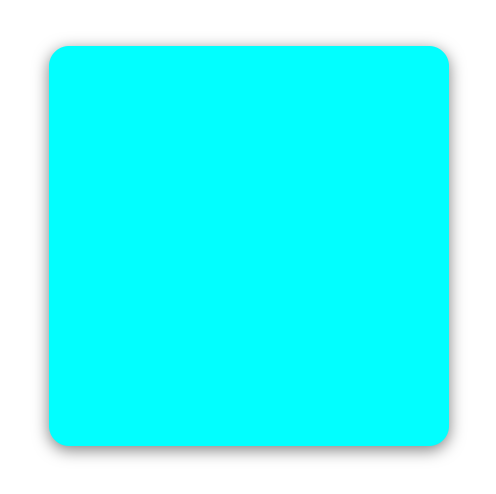
간단한 디자인 요청을 받았습니다. 뷰의 모서리를 둥글게 만들고 그림자를 추가할수 있나요?
// set the corner radius
layer.cornerRadius = 6.0
layer.masksToBounds = true

// set the shadow properties
layer.shadowColor = UIColor.black.cgColor
layer.shadowOffset = CGSize(width: 0, height: 1.0)
layer.shadowOpacity = 0.2
layer.shadowRadius = 4.0
WRONG!
이전에 이것을 해본적이 있다면 무엇이 발생하는지 정확하게 압니다. 뷰는 라운딩 됬지만, 그림자는 사라집니다. makeToBounds를 false로 설정하면 그림자는 나타나지만 라운딩 되지 않습니다.
CALayerWhyAreYouDoingThisToMe
이유를 모두 알고나면 왜 이렇게 되는지 명확해집니다, layer.masksToBounds = true는 레이어의 바깥의 모든 부분을 깍아(clip) 냅니다. 그림자는 레이어 외부에 그려지기 때문에 잘려나갑니다. 그래서 두가지 효과의 같은 레이어를 사용할수 없습니다.
The Solution
최소한의 수고를 들여 작업하는 방법을 공유합니다. 부모뷰의 안쪽에 고정된 내부 containerView를 만드는 방법을 선택했습니다. 그림자(shadows)는 부모뷰의 레이어에 적용되고, containerView에 깍인 corners(rounded corners)가 적용됩니다. 그런다음 모든 컨텐츠를 containerView에 추가하면됩니다.
sublayers, masks를 사용하여 작업할수도 있지만, AutoLayout을 사용하면 뷰의 크기를 알수 없기 때문에 약간의 문제가 있습니다. 뷰의 layoutSubviews, 뷰 컨트롤러의 viewDidLayoutSubviews를 오버라이드 하여 layer paths를 업데이트 하는것이지만, 겉으로 보기에 사소해보이지만 사실 더 많은 노력이 필요합니다.
아래의 코드를 확인하세요.
/*
  Example of how to create a view that has rounded corners and a shadow.
  These cannot be on the same layer because setting the corner radius requires masksToBounds = true.
  When it's true, the shadow is clipped.
  It's possible to add sublayers and set their path with a UIBezierPath(roundedRect...), but this becomes difficult when using AutoLayout.
  Instead, we a containerView for the cornerRadius and the current view for the shadow.
  All subviews should just be added and constrained to the containerView
*/

import UIKit

class RoundShadowView: UIView {

    let containerView = UIView()
    let cornerRadius: CGFloat = 6.0

    override init(frame: CGRect) {
        super.init(frame: frame)

        layoutView()
    }

    required init?(coder aDecoder: NSCoder) {
        fatalError("init(coder:) has not been implemented")
    }

    func layoutView() {

      // set the shadow of the view's layer
      layer.backgroundColor = UIColor.clear.cgColor
      layer.shadowColor = UIColor.black.cgColor
      layer.shadowOffset = CGSize(width: 0, height: 1.0)
      layer.shadowOpacity = 0.2
      layer.shadowRadius = 4.0

      // set the cornerRadius of the containerView's layer
      containerView.layer.cornerRadius = cornerRadius
      containerView.layer.masksToBounds = true

      addSubview(containerView)

      //
      // add additional views to the containerView here
      //

      // add constraints
      containerView.translatesAutoresizingMaskIntoConstraints = false

      // pin the containerView to the edges to the view
      containerView.leadingAnchor.constraint(equalTo: leadingAnchor).isActive = true
      containerView.trailingAnchor.constraint(equalTo: trailingAnchor).isActive = true
      containerView.topAnchor.constraint(equalTo: topAnchor).isActive = true
      containerView.bottomAnchor.constraint(equalTo: bottomAnchor).isActive = true
    }
}

Update!
StackOverflow에 subviews 추가하는것을 피하기 위해 사용할수 있는 대체 소룰션이 있습니다. shadowLayer.path = UIBezierPath(roundedRect: bounds, cornerRadius: cornerRadius).cgPath을 사용하여 마법을 부립니다.
rivate var shadowLayer: CAShapeLayer!
private var cornerRadius: CGFloat = 25.0
private var fillColor: UIColor = .blue // the color applied to the shadowLayer, rather than the view's backgroundColor

override func layoutSubviews() {
    super.layoutSubviews()

    if shadowLayer == nil {
        shadowLayer = CAShapeLayer()

        shadowLayer.path = UIBezierPath(roundedRect: bounds, cornerRadius: cornerRadius).cgPath
        shadowLayer.fillColor = fillColor.cgColor

        shadowLayer.shadowColor = UIColor.black.cgColor
        shadowLayer.shadowPath = shadowLayer.path
        shadowLayer.shadowOffset = CGSize(width: 0.0, height: 1.0)
        shadowLayer.shadowOpacity = 0.2
        shadowLayer.shadowRadius = 3

        layer.insertSublayer(shadowLayer, at: 0)
    }
}
Reference
https://stackoverflow.com/questions/4754392/uiview-with-rounded-corners-and-drop-shadow/43295741