In App Purchases Tutorial: Consumables에서 필요한 부분을 의역했습니다.
Table of contents
- In App Purchases Tutorial: Consumables
- Getting Started
- Setting up IAP Consumables in iTunes Connect
- Implementing a Consumable In-App Purchase
- Allowing Multiple Purchases
- Where To Go From Here?
In App Purchases Tutorial: Consumables
소모품(Consumables)은 탄약, 스티커같은 1회용 물품 입니다. 이 튜토리얼에서 앱에 이들을 지원하기 위해 어떻게 추가하는지 방법을 알아봅니다.
Swift 3, iOS 10, Xcode8로 업데이트 되었습니다.
다른 유형의 IPA들과 달리 Consumables는 딱 한번만 사용할수 있습니다. 게임이나, message 앱에서의 스티커를 생각해보세요. IAP들의 1회성 속성 때문에 앱에 새로운 기능을 고려 해야 합니다. 즉 한 사람이 가질수 있는 수를 제한하거나, 구매한 IAP수를 유지해야 합니다.
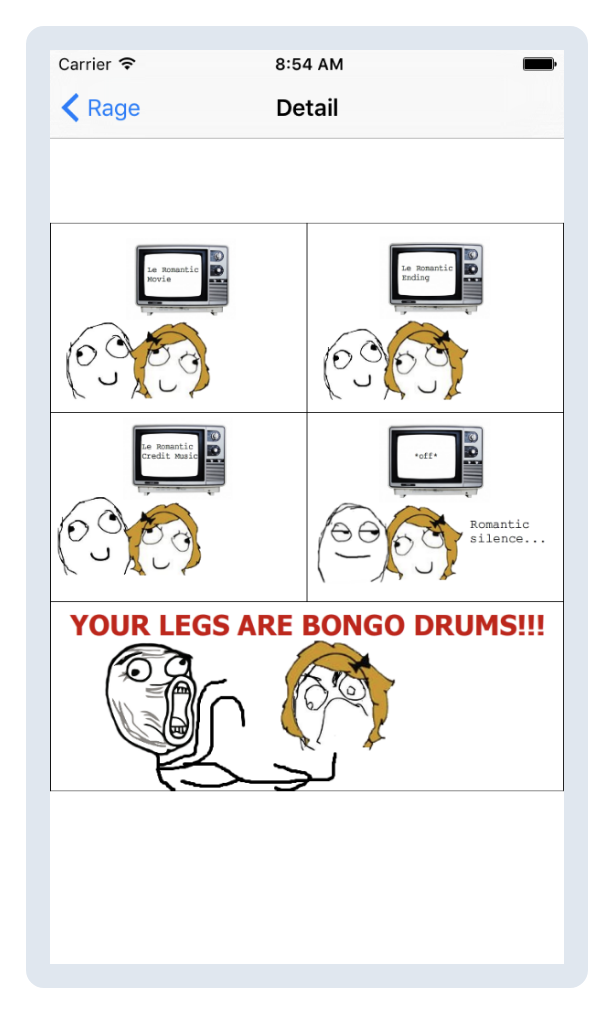
이 튜토리얼은 이전 튜토리얼을 개선했기 때문에 먼저 이 튜토리얼을 시작하기 전에 이 튜토리얼을 읽을 것을 권장합니다. 이 튜토리얼에서 Rage라고 불리는 앱을 생성 했었습니다. non-consumable In-app purchase과 같은 rage face 이미지를 소비자가 구매할수 있게 만들었습니다.
이 튜토리얼에서 새로운 consumable IAP를 추가하기위해 확장합니다 - 고객이 이들을 한번 이상 구매할수 있기 때문에 non-consumables 보다 수익성이 좋습니다.
Note: 이 튜토리얼(과 이전 튜토리얼)은 강력하고 유연한 방법이 아니라 간단하고 쉬운 방법으로 하는것에 초점이 맞추어져 있습니다. 더 자세한 내용은 Purchase Video Tutorial Series를 참조하세요
Getting Started
여기에서 시작 프로젝트를 다운 받습니다.
시작 프로젝트는 지난 튜토리얼의 프로젝트와 같지 않습니다. 몇가지가 추가 되었습니다. 프로젝트를 열고 둘러보세요.
RandomFaceViewController.swift가 추가되었습니다.- 스토리보드에
RandomFaceViewController를 위한 UI가 설정 되었습니다. RandomFaceViewController를 보기위한 segue가 추가되었습니다.- Asset Catalog에 4개의 random rage face images가 추가되었습니다.
자신의 Apple 개발자 계정으로 작업하려면 이 프로젝트를 약간 변경해야 합니다. Bundle identifier를 이전에 설정했던 identifier로 변경합니다.
RageProducts.swift를 열고 GirlfriendOfDrummerRage의 값을 iTunes Connect에 입력한 제품 식별자로 대체하세요.
변경이 완료되면 앱을 빌드하고 실행하세요. Grilfriend of Drummer 만화를 아직 구입하지 않았다면 구입하세요. 구입 한 후에는 만화를 탭하여 볼수 있는지 확인하세요.
Setting up IAP Consumables in iTunes Connect
돈을 벌기 위한 비열한 계획이 있습니다. - 사용자가 원할때마다 임의의 rage faces를 볼수 있게 추가하는 대신 한계점을 추가하고 유저가 더 많이 구매하도록 청구합니다.
Note: 이것은 앱의 수익을 증가시키기 위해 사용할수 있는 consumable In-App Purchases의 시작일뿐입니다. 더 많은 정보를 얻으려면 많은 블로그, frrmium game design, gamer psychology, Zynga 게임에 관련 이야기를 확인하세요.
non-consumable In-App Purchases에서 한것처럼 해야할 첫번째단계는 iTunes Connect에서 새로운 인앱 구매 항목을 만드는 것입니다.
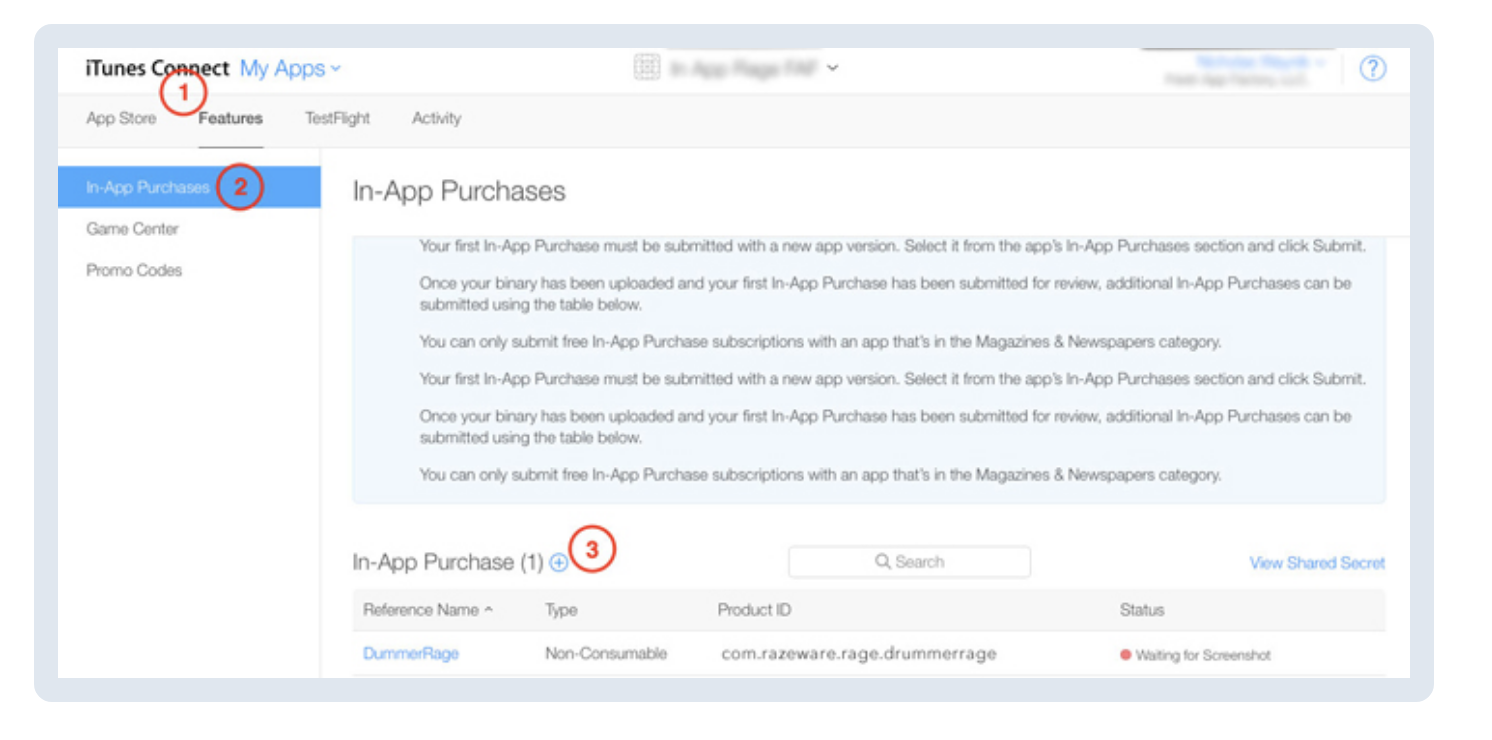
Consumable IAP를 생성합니다.
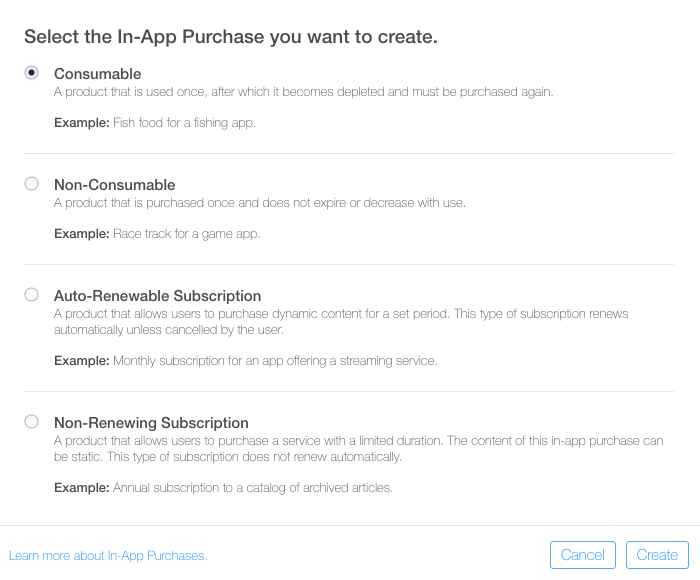
다음 화면에 나타난것을 채웁니다.(bundle ID는 다르게 작성합니다.)
- Reference Name: Random Rage Face
- Product ID: com.razeware.rage.RandomRageFace(이텔릭체 부분은 자신의 bundle ID로 교체합니다)
- Cleared for Sale: Yes
- Price Tier: Tier1
- 마지막으로, Localizations 색션으로 가서 다음을 채웁니다.

저장하면 완료됩니다.
Implementing a Consumable In-App Purchase
시작하기 위해 RageProducts.swift를 열고 방금 생성한 새로운 제품 식별자를 위한 정적 변수를 추가합니다. 그후 productIdentifiers set또한 새로운 변수를 포함하기 위해 수정합니다.
public static let RandomRageFace = "com.razeware.rage.RandomRageFace"

fileprivate static let productIdentifiers: Set<ProductIdentifier> =
  [RageProducts.GirlfriendOfDrummerRage,
   RageProducts.RandomRageFace]
RandomRageFace값을 iTunes Connect에서 설정한 값으로 변경하는것을 잊지 말아주세요.
다음으로 IAPHelper.swift를 열고 deliverPurchaseNotificationFor(identifier:)을 다음과같이 교체합니다.
fileprivate func deliverPurchaseNotificationFor(identifier: String?) {
  guard let identifier = identifier else { return }

  purchasedProductIdentifiers.insert(identifier)

  if identifier == RageProducts.RandomRageFace {
    let defaults = UserDefaults.standard
    var currentValue = defaults.integer(forKey: RageProducts.RandomRageFace)
    currentValue += 5
    defaults.set(currentValue, forKey: RageProducts.RandomRageFace)
  } else {
    UserDefaults.standard.set(true, forKey: identifier)
  }

  UserDefaults.standard.synchronize()
  NotificationCenter.default.post(name: NSNotification.Name(rawValue: IAPHelper.IAPHelperPurchaseNotification), object: identifier)
}
consumable IAP를 위한 특정 행동을 추가했습니다. 고객이 1개를 구매할때, 구매했는지 구매 하지 않았는지 flag indicating 설정 하는 대신 유저가 볼수있는 임의 rage face의 횟수를 추적하는 값을 증가 시킵니다.
Note: 이것은 동작하지만 이상적인 방법이 아닙니다. 왜냐하면 IAPHelper 클레스는 특정 IAP에 대한 하드코딩 로직을 가지고 있습니다. 이것은 재사용할수 없게 만듭니다. 이것을 재사용하는방법을 찾으려면 In-App Purchases Video Tutorial Series를 참조해주세요
추가적으로
UserDefaults를 사용하여 구매를 저장하는것도 이상적이지 않습니다. 이는 IAP를 특정 기기에 묶어두기 때문입니다. ClouldKit, Firebase 같은 back-end를 사용하는 서버에 데이터를 저장해야 합니다.
MasterViewController.swift을 열고 tableView(_:didSelectRowatIndexPath:)를 다음과같이 교체합니다
override func tableView(_ tableView: UITableView, didSelectRowAt indexPath: IndexPath) {
  let product = products[indexPath.row]
  if (product.productIdentifier == RageProducts.RandomRageFace) {
    self.performSegue(withIdentifier: showRandomFaceSegueIdentifier, sender: self)
  } else {
    self.performSegue(withIdentifier: showDetailSegueIdentifier, sender: self)
  }
}
선택한 제품이 RandomRageFace IAP인지 확인하기 위한 로직을 추가했습니다. 만약 맞다면 새로운 RnadomFaceViewController를 보여줄것입니다. 그렇지 않으면 showDetail의 식별자 값의 segue를 이행하고 특정 rage face의 디테일을 보여줍니다.
앱을 빌드하고 실행합니다. 새로운 Random Rage Face 소모품 인앱 구매가 테이블뷰에 보여집니다.
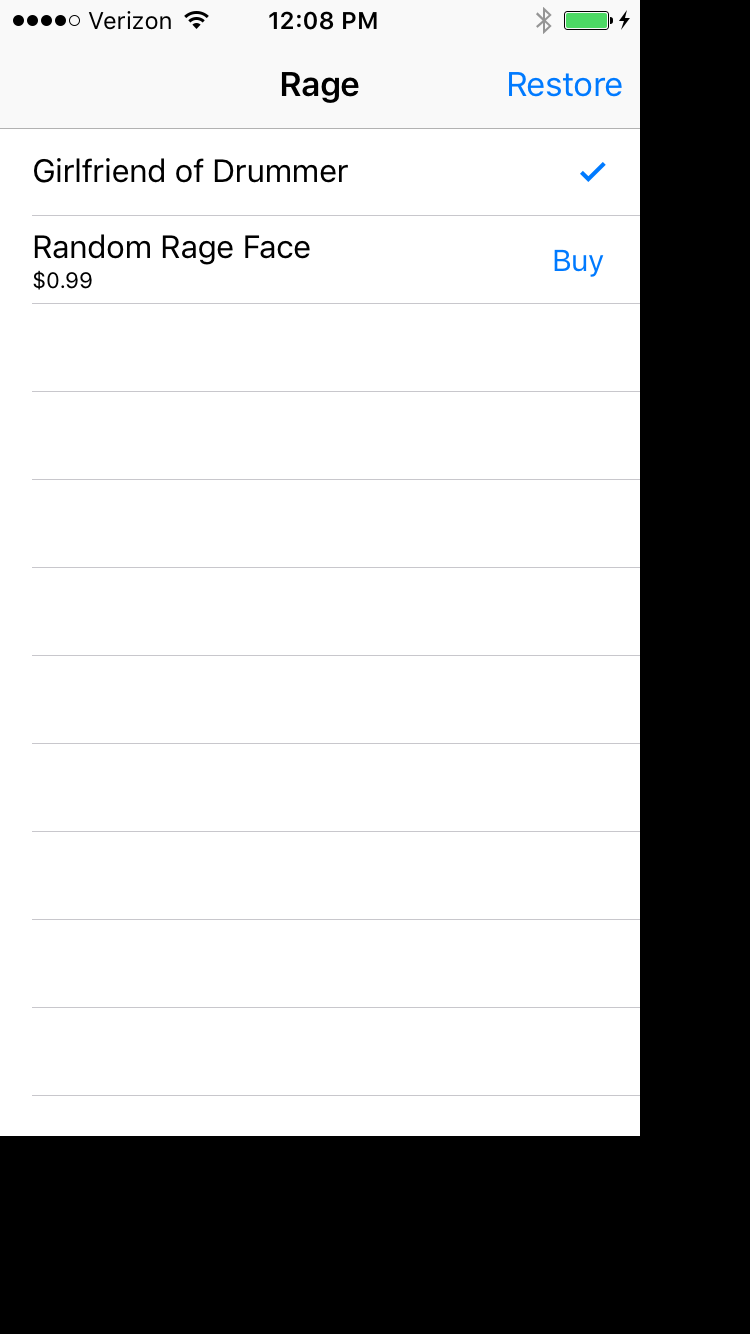
Rnadom Rage Face를 탭하고(Buy 버튼이 아닌 Row)
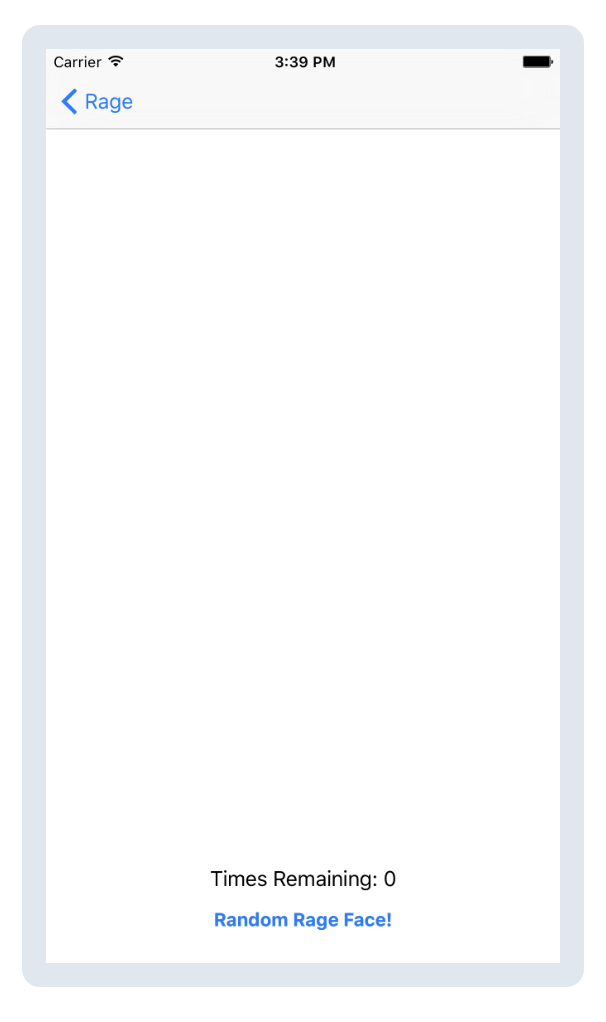
RnadomFaceViewController를 화면에서 볼수 있습니다. Random Rage Face! 버튼은 아직 아무것도 하지 않습니다.
RandomFaceViewController.swift를 열고 buttonPressend(_:)를 다음과같이 교체합니다.
@IBAction func buttonPressed(sender: UIButton) {
let defaults = UserDefaults.standard
var currentValue = defaults.integer(forKey: RageProducts.RandomRageFace)
if currentValue <= 0 {
return
} else {
currentValue -= 1
defaults.set(currentValue, forKey: RageProducts.RandomRageFace)
defaults.synchronize()
refresh()
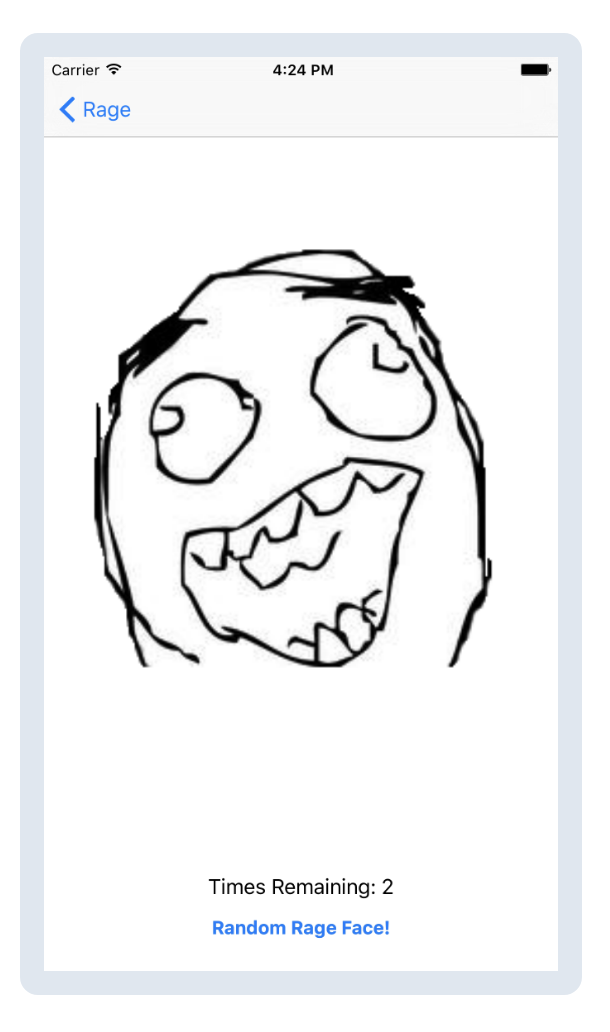
let randomIdx = (arc4random() % 4) + 1
let randomName = "random\(randomIdx).png"
imageView.image = UIImage(named: randomName)
}
}
유저가 임의의 가능한 random rage faces를 가졌는지 확인하기위한 기본 로직입니다. 만약 가졌다면, 시작 프로젝트에 있는 4개의 임의 이미지중 하나를 화면에 보여주어야 합니다. 이것은 하나의 문제가 있습니다: 가능한 얼굴을 가졋는지 있는지 어떻게 알수 있나요? 이 문제를 해결하려면 다음 두개의 메소드를 buttonPressed(_:)위에 추가합니다.
override func viewWillAppear(_ animated: Bool) {
  super.viewWillAppear(animated)

  refresh()
}

func refresh() {
  let defaults = UserDefaults.standard
  let currentValue = defaults.integer(forKey: RageProducts.RandomRageFace)

  label.text = "Times Remaining: \(currentValue)"
}
RandomFaceViewController는 먼저 표시되고 refresh()를 호출하여 현재 rage face counter값을 label에 업데이트 합니다. refresh() 메소드는 단순하게 NSUserDefaults에서 보기 위해 남겨둔 rage faces의 숫자를 찾습니다. 마지막으로 뷰 컨트롤러의 하단의 레이블에 숫자를 화면에 표시합니다.
앱을 빌드하고 실행합니다. consumable 몇개를 더 구입합니다. 그후 random rage face button을 테스트하고 예상한대로 동작하는지 확인하세요.
Allowing Multiple Purchases
현재, 유저 인터페이스는 소모품 구매를 한번만 수행할수 있습니다. 이것을 수정합니다.
RageProducts.swift를 열고 다음 매소드를 추가합니다.
public static func isProductPurchased(_ productIdentifier: ProductIdentifier) -> Bool {
  if (productIdentifier == RageProducts.RandomRageFace) {
    return false
  } else {
    return RageProducts.store.isProductPurchased(productIdentifier)
  }
}
제품 식별자가 consumable인지 확인합니다. 그리고 그렇다면 항상 구매 가능하게 만듭니다.
ProductCell.swift를 열고 product의 didSet을 찾고 다음 라인을
if RageProducts.store.isProductPurchased(product.productIdentifier) {
다음과같이 변경합나다.
if RageProducts.isProductPurchased(product.productIdentifier) {
앱을 빌드하고 실행합니다. 이제 원하는 만큼 구매할수 있습니다.
Where To Go From Here?
여기에 이 튜토리얼의 최종 프로젝트를 다운받을수 있습니다.
이 IAP 튜토리얼은 간단한 앱을 위한 충분한 기능을 가지고 있습니다. 그러나 더 강력하고 확장가능한 앱을 개발하는 방법을 배우려면 In-App Purchases Video Tutorial Series를 확인하세요.